Technique Tuesday: Textured Heat Embossing with the Detailed Succulents Stamp Set
Happy Technique Tuesday, crafty friends! This week, I’m sharing a fun and creative technique—Textured Heat Embossing—that adds incredible dimension and detail to your stamped images. Using just a few supplies, you can create a gorgeous, raised texture that makes your designs pop!
Supplies Used:
- Stamp Set: Detailed Succulents
- Ink: VersaMark Ink
- Embossing Powder: White Embossing Powder
- Tool: Stampin’ Up! Heat Tool
Step-by-Step Technique:
- Stamp & Emboss:
- Stamp your image onto cardstock using VersaMark Ink.
- Sprinkle White Embossing Powder over the stamped image.
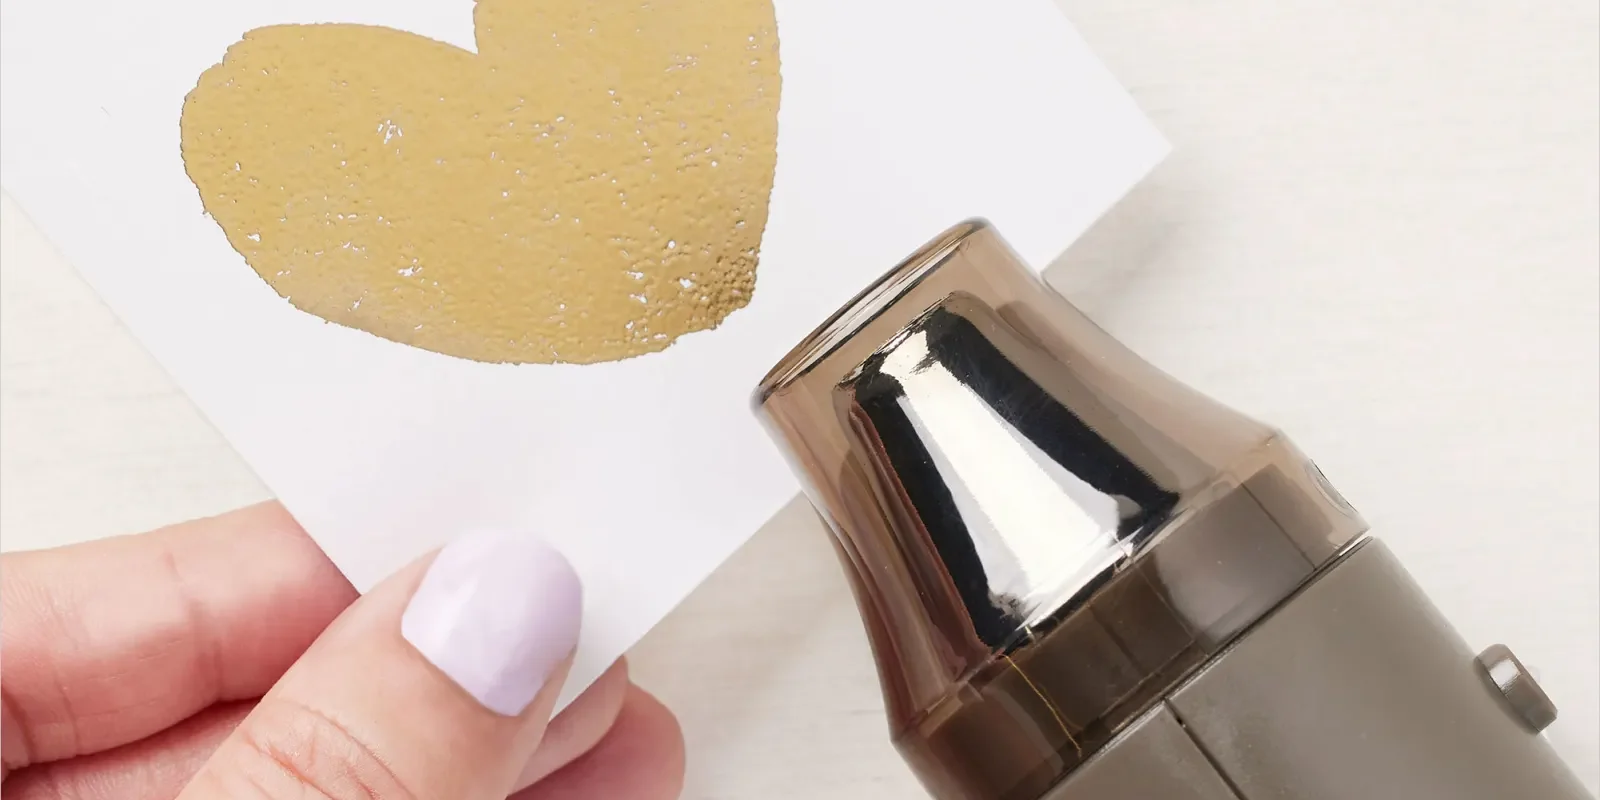
- Tap off the excess powder and use the Heat Tool to melt and set the embossing.
- Reheat & Add More Texture:
- Once the initial embossing is cool, reheat the center of the image to re-melt the embossing powder.
- Sprinkle a bit more White Embossing Powder onto the melted area.
- Heat again to melt and repeat the process until you achieve the desired raised texture.
Why You’ll Love This Technique:
✔ Adds Dimension & Interest – Perfect for creating focal points on your cards. ✔ Easy Yet Impressive – A simple way to elevate your designs. ✔ Customizable Texture – Build up layers for a unique, artistic look.
This technique works beautifully with the Detailed Succulents Stamp Set, giving the intricate designs a bold, elegant finish. Give it a try and let me know how you like it! Have you experimented with heat embossing before? Share your thoughts in the comments! ✨🔥💜