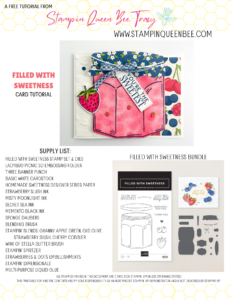
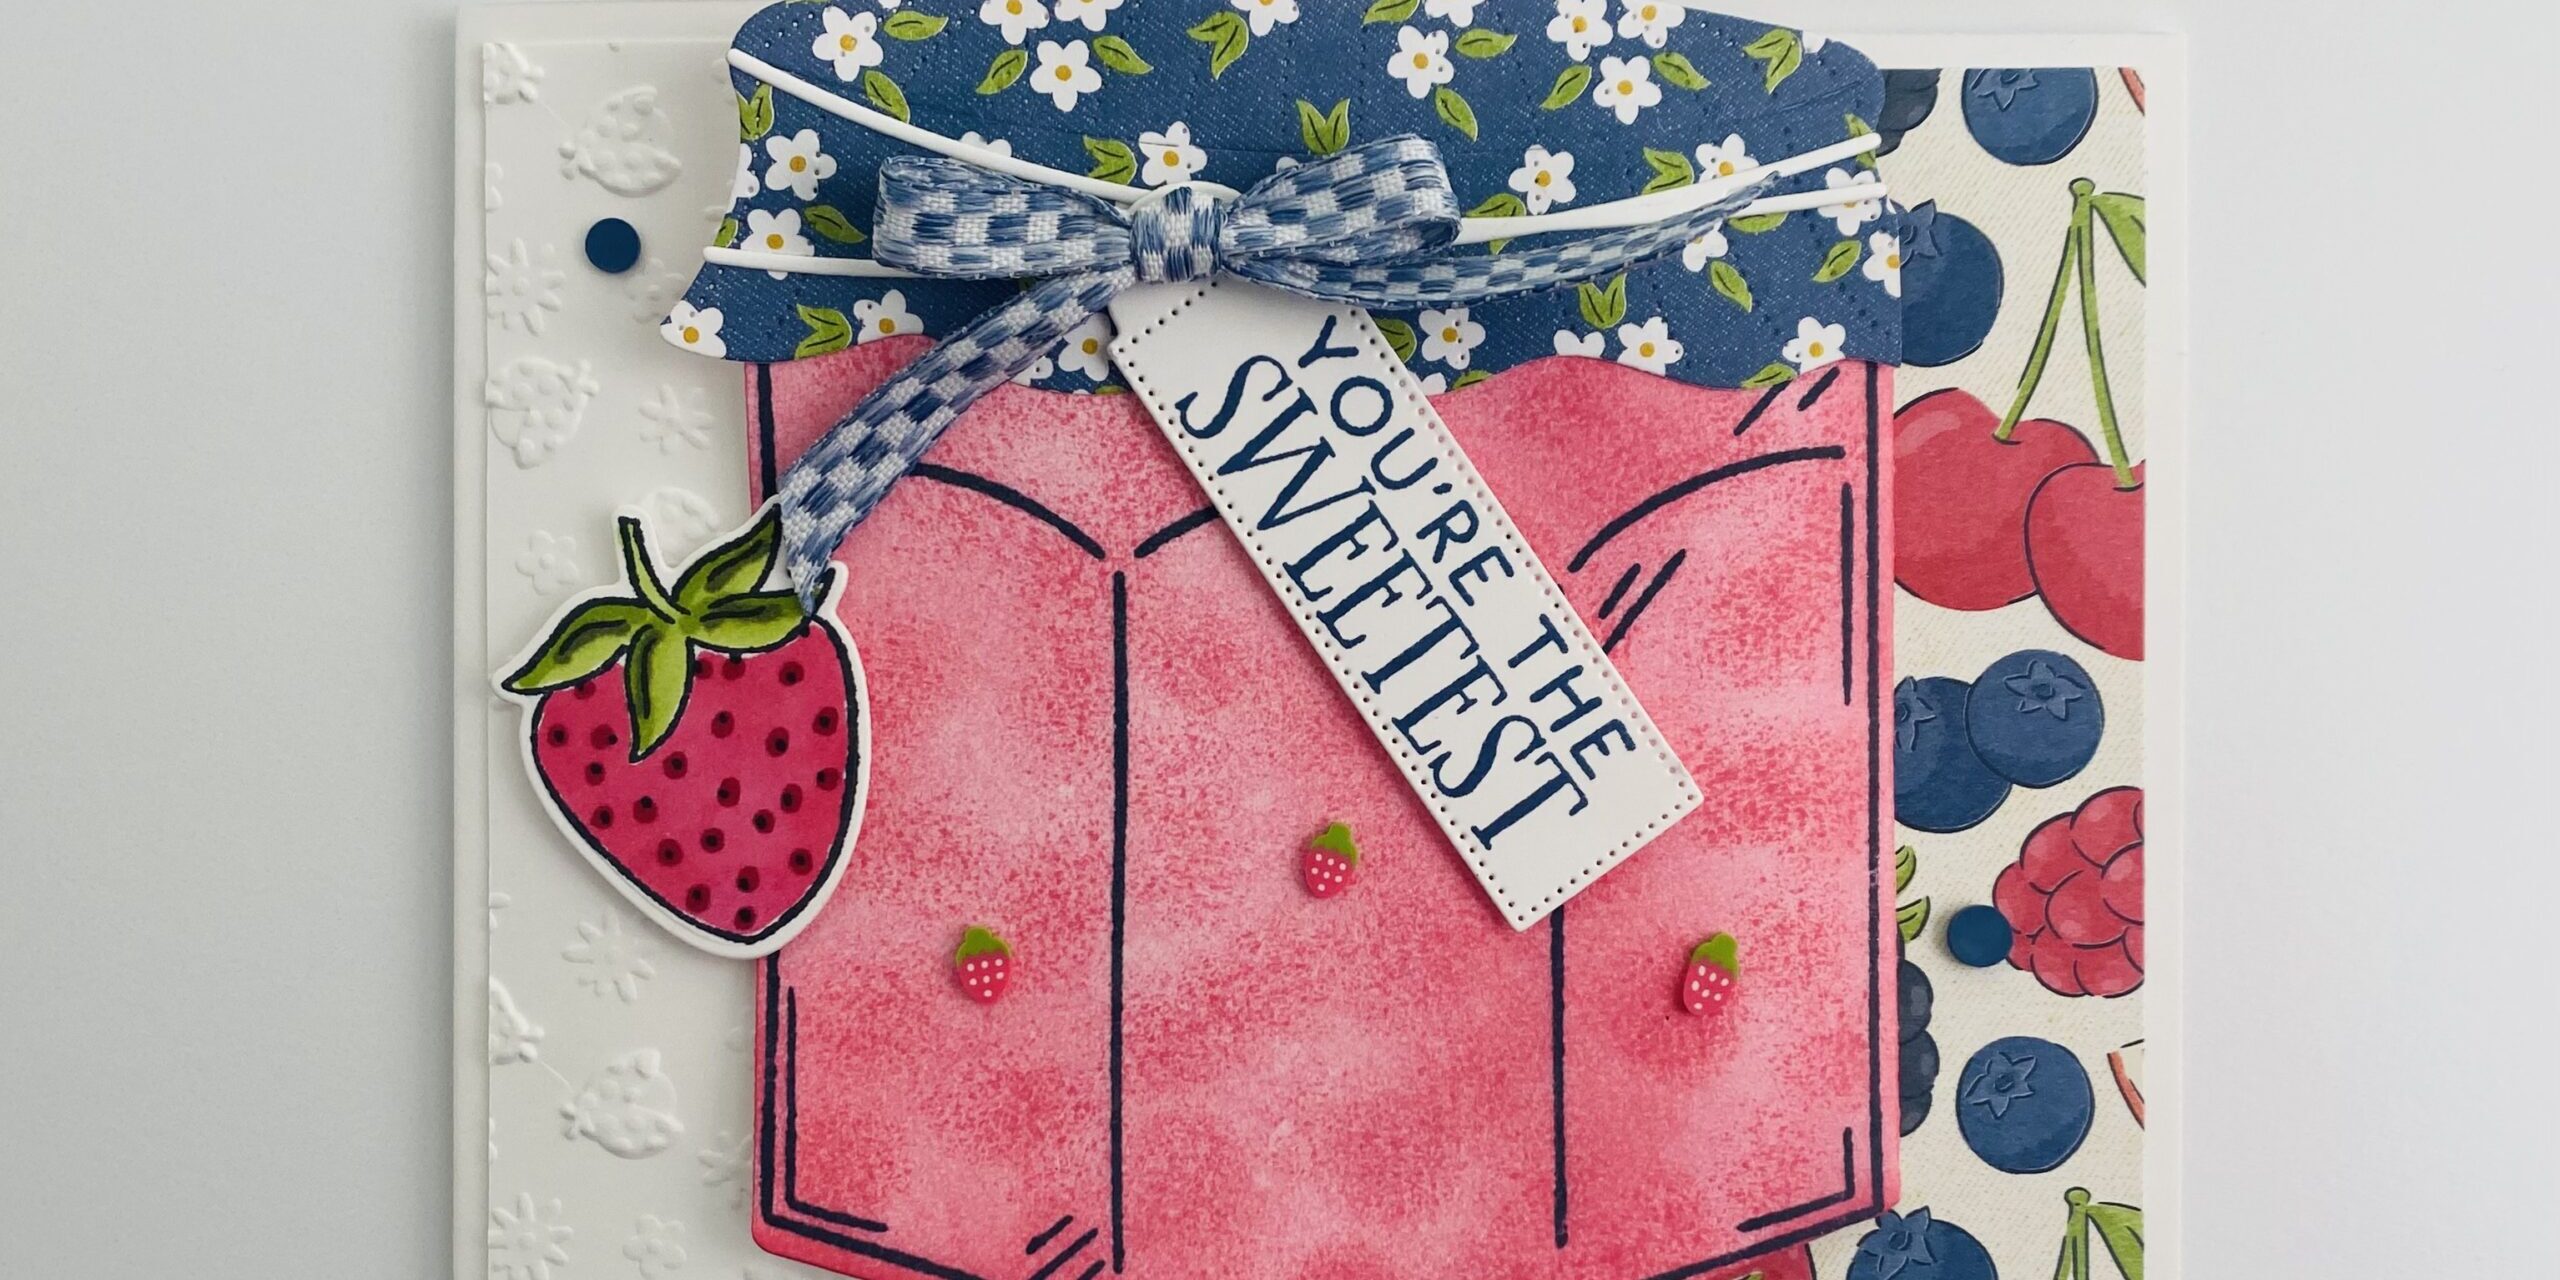
OnStage Swap Card – Tri-Fun Fold Jam Jar Card
Today’s card project is a special one because it’s the design I created for our upcoming OnStage convention swaps!
Swapping cards with other demonstrators is one of the most fun parts of attending Stampin’ Up! events. You get to exchange handmade cards with other crafters from all over and come home with tons of inspiration.
Since many of you often ask how swap cards are designed, I thought it would be fun to share the full process behind mine.
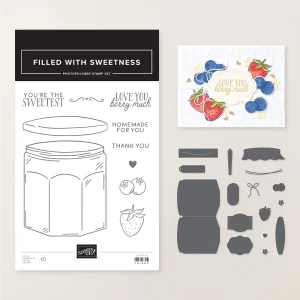
Filled with Sweetness Bundle
This card features the Filled with Sweetness Bundle, which is perfect for creating charming jam jar themed projects.
The coordinating stamps and dies make it easy to create designs that feel cheerful, summery, and perfect for picnic-inspired cards.
Tri-Fun Fold Card Design
For this swap I wanted something interactive but still easy to recreate, so I designed a Tri-Fun Fold card.
I used the dies in a creative way to build the fold structure, giving the card an unexpected layout that opens in a fun and unique way.
A large strawberry die cut colored with Stampin’ Blends tucks into the design and acts as the closure for the card.
Creating Realistic Strawberry Jam
The highlight of this card is definitely the jam jar.
In today’s tutorial I demonstrate two coloring techniques:
-
Blending Brushes for soft color layering
-
Sponge Daubers to deepen the jam color and add dimension
Together these techniques create realistic looking strawberry jam inside the jar.
I also added highlights to make the jar look shiny like glass, which really brings the design to life.
Card Details
Color Palette
-
Basic White
-
Strawberry Slush
-
Misty Moonlight
Embellishments
-
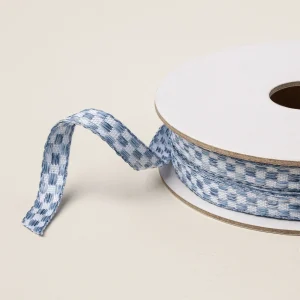
Misty Moonlight Checkered Trim Ribbon
-
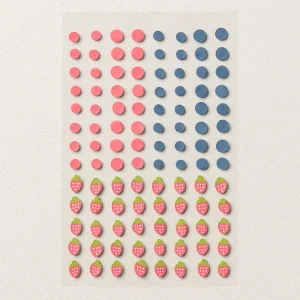
Strawberry & Dots Embellishments
These finishing touches add a playful and summery feel to the card.
I’m so excited to bring this swap to OnStage and exchange cards with other demonstrators. Swaps are always one of the most inspiring parts of the event!
Happy stamping,
Tracy
StampinQueenBee 🐝